Why Image File Size Matters
Every image on a webpage adds to its load time. Google uses page speed as a ranking signal, which means oversized images can directly hurt your SEO. A 4MB JPG that compresses down to 110 kB loads roughly 36x faster — and in most cases, visitors cannot tell the difference visually.
Beyond websites, compressed images matter for email attachments (most clients cap at 10–25MB), social media uploads, and simply freeing up storage on your phone or computer.
💡 Quick fact: According to web performance research, images account for over 50% of the average webpage's total byte size. Compressing them is the single highest-impact optimization most sites can make.
What Formats Can You Compress?
FlexoTools image compressor supports the most commonly used image formats:
The one format not supported is HEIC — the default format on iPhones. If you have HEIC files, convert them to JPG first using your phone's share menu or a free converter, then compress with FlexoTools.
Step-by-Step: How to Compress an Image
Open FlexoTools Image Compressor in your browser — no account needed. Here is the full process.
Upload your image
Click Choose File and select any image up to 4.5MB. The tool shows a live preview immediately after upload so you can confirm it loaded the right file. The original file size is displayed in the info bar below the upload button.
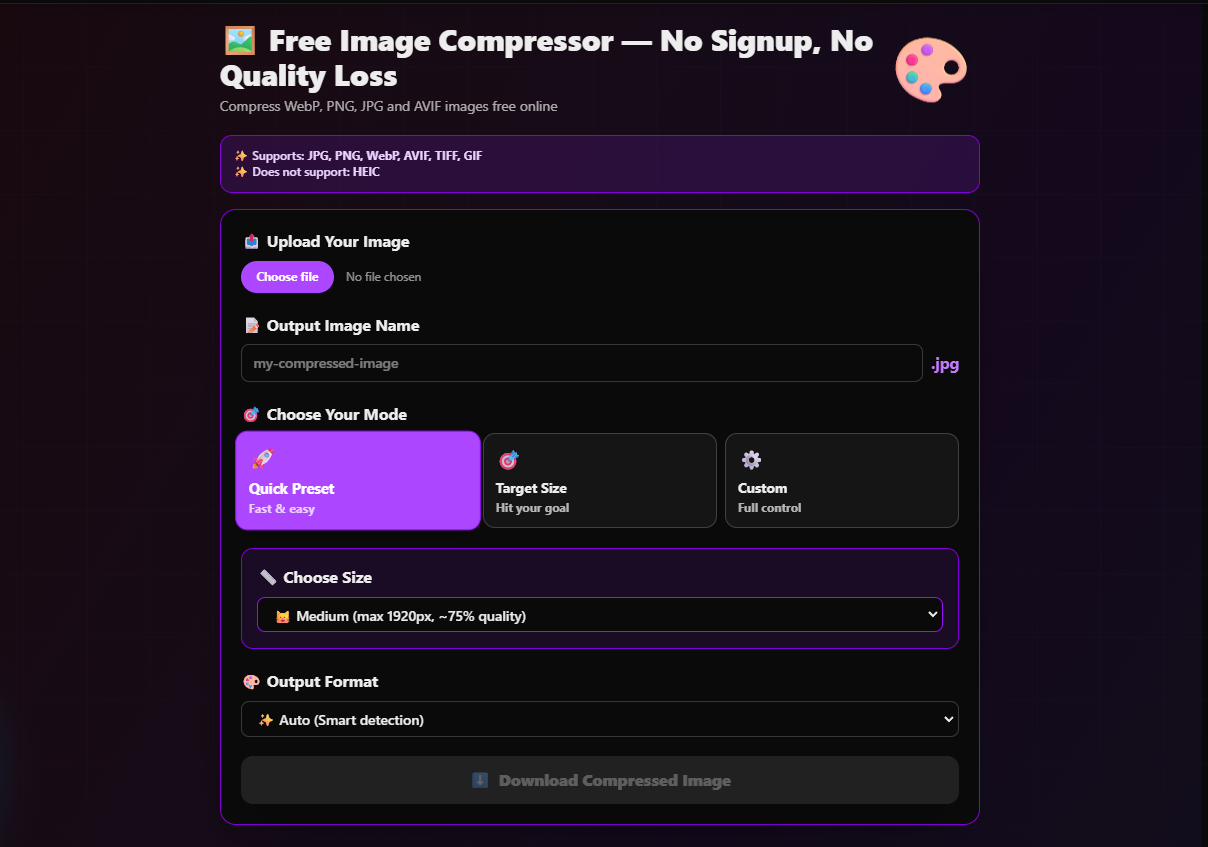
The upload section — supports JPG, PNG, WebP, AVIF, TIFF and GIF
Choose a compression mode
There are three modes. Pick the one that fits your situation:
Choose Small (max 1280px, 60% quality), Medium (max 1920px, 75% quality), or Large (original dimensions, 85% quality). Medium is the right default for website images and social media.
Enter an exact target in kB — useful when uploading to platforms with strict limits (e.g. 250 kB for a job portal, 1 MB for a form attachment). The tool automatically adjusts quality to hit your target.
Set a specific width and height in pixels and drag the quality slider anywhere from 30% to 100%. Useful for resizing product images to exact dimensions or creating thumbnails.
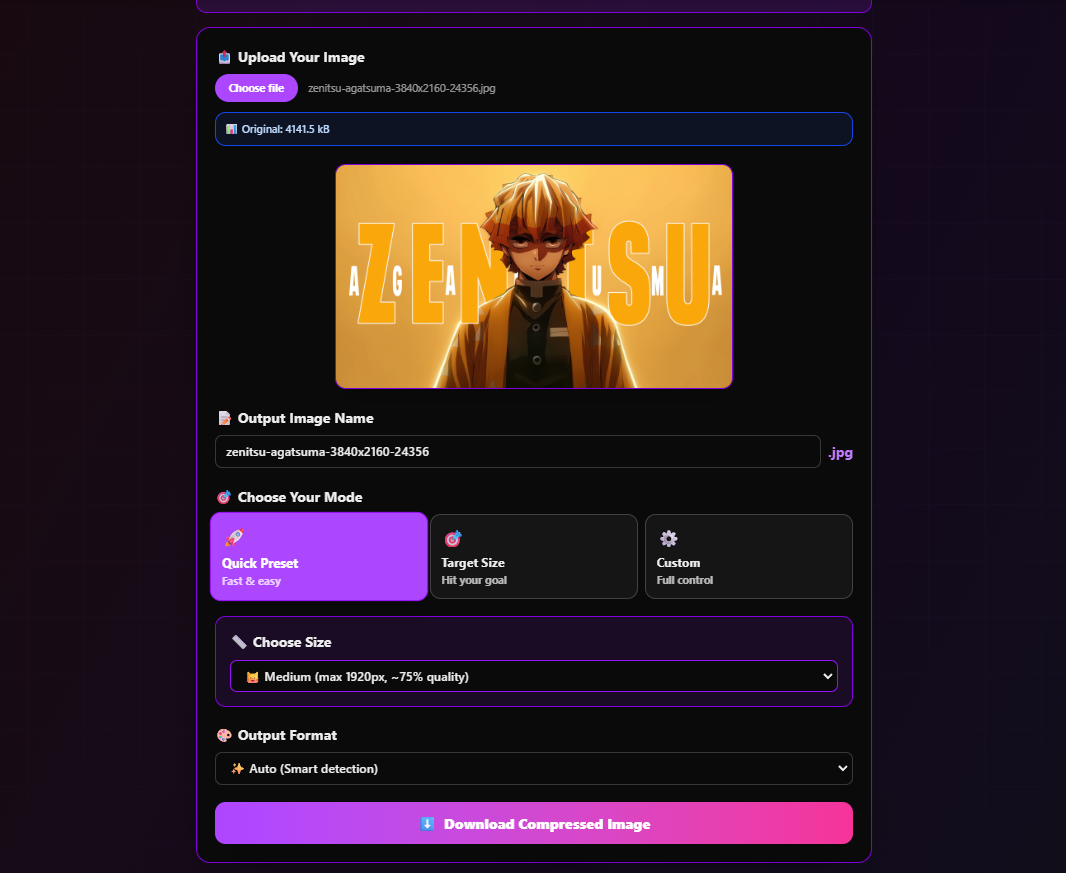
Quick Preset mode selected with Medium quality — the best starting point for most images
Choose your output format
Leave this on Auto (Smart detection) in most cases — the tool will keep your original format. If you want to convert to a more efficient format, choose WebP or AVIF. Both are supported by all modern browsers and can be 30–50% smaller than JPG at the same visual quality.
⚠️ WordPress users: Make sure your theme supports WebP before converting, or use a plugin like ShortPixel that handles compatibility automatically.
Download and check the result
Click Download Compressed Image. The file saves instantly to your downloads folder. The info bar updates to show the compressed size and the exact percentage reduction. In the example below, a 4141.5 kB image compressed to just 109.8 kB — a 97.3% reduction — with no visible quality loss.

Real result: 4141.5 kB → 109.8 kB (97.3% smaller) using Medium preset
JPG vs PNG vs WebP vs AVIF — Which Should You Use?
The format you compress to matters as much as the quality setting. Here is a quick comparison to help you decide:
| Format | Best for | Transparency | File size |
|---|---|---|---|
| JPG | Photos, hero images | ❌ No | Medium |
| PNG | Logos, screenshots | ✅ Yes | Large |
| WebP | All web images | ✅ Yes | Small |
| AVIF | Next-gen web | ✅ Yes | Smallest |
For new websites, WebP is the safest choice — near-universal browser support, significantly smaller than JPG, and supports transparency unlike JPG. AVIF is even smaller but has slightly less compatibility with older browsers.
5 Tips for Better Compression Results
Medium preset (75% quality, max 1920px) is the sweet spot for most web images. Download the compressed file, zoom in at 100%, and only reduce quality further if it still looks sharp.
Job portals, government forms, and email services often cap attachments at a specific size. Use Target Size mode and enter the limit directly — no guesswork needed.
If someone sent you a PNG of a photograph (not a logo or screenshot), convert it to JPG or WebP using the Output Format dropdown. PNGs of photos are almost always unnecessarily large.
The Output Image Name field lets you set the filename before downloading. Use descriptive names like "product-hero-compressed" rather than the default, especially if you are optimizing images for a website.
E-commerce platforms often require images to be exactly 800×800px or 1200×1200px. Use Custom mode, enter the exact pixel dimensions, and set quality to 80% — that combination works well for product listings.
Is It Safe? What Happens to My Images?
FlexoTools processes images client-side in your browser by default. This means your image data never leaves your device — it is compressed locally using browser APIs and downloaded directly. No images are stored on any server, and no account is required to track your activity.
This makes it safe to compress confidential images, internal screenshots, or personal photos. If you have very sensitive documents, client-side processing is always preferable to uploading to a remote server.
Ready to compress your images?
Free, no signup, no watermarks. Works entirely in your browser.
🖼️ Open Image Compressor